 Ferndale Exterior
 Siding Installation in Blaine: Why the Install Matters as Much as the Material
A siding product is only as good as the installation behind it. That's true everywhere, but it matters more in Blaine than in most of Whatcom County, because this town sits close enough to Semiahmoo Bay and Drayton Harbor that salt air, wind-driven rain, and a long moss season are working against the exterior of a house nearly every week of the year. We install James Hardie fiber cement siding exclusively, and this page is specifically about the installation itself — the sequence, the details, and the standards we hold to on a Blaine job, not a general overview of the product or the service area.
Homeowners comparing bids often focus on material and price and give the installation process itself a quick glance. That's backwards. Two crews can install the same James Hardie board and end up with very different results five years later, depending on how carefully they handled flashing, fastening, and clearances along the way. Given how much moisture pressure a Blaine home deals with, the install is where a siding job actually succeeds or fails.
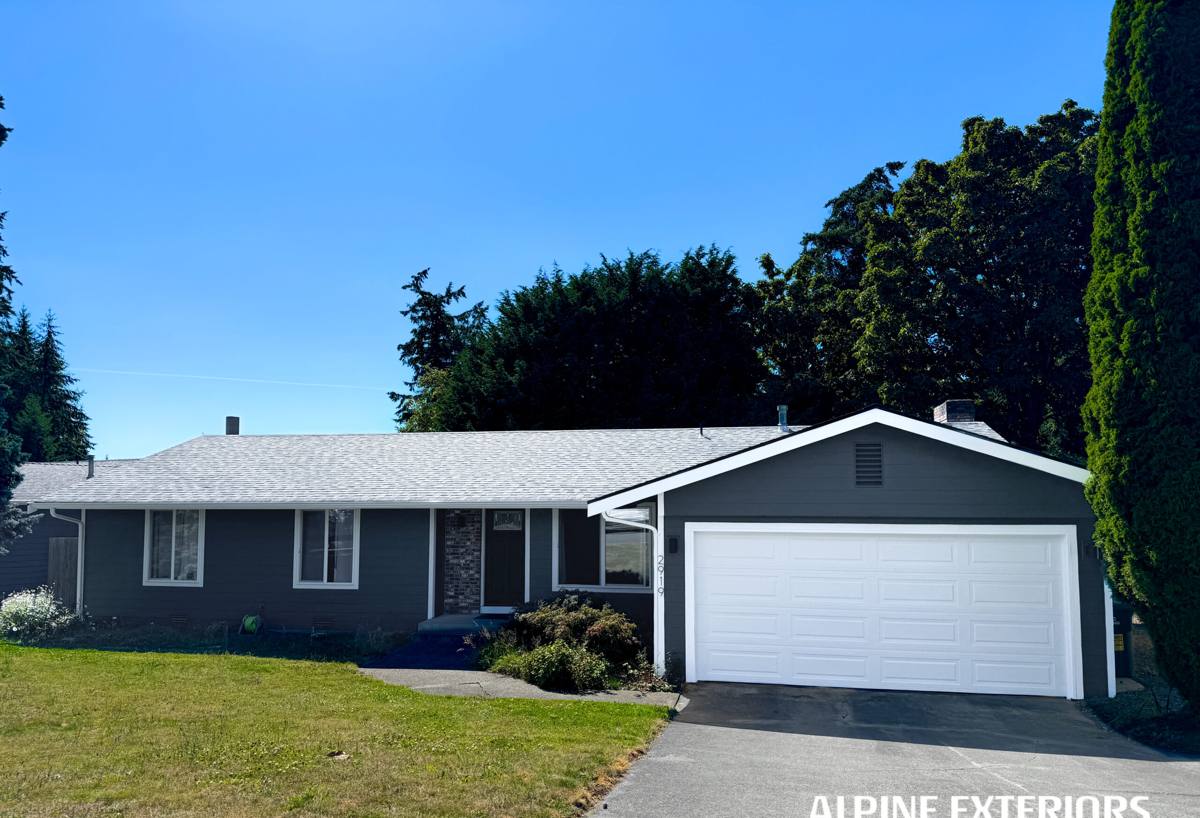
What Blaine's Climate Demands from an Installation, Specifically
Salt air off the water accelerates corrosion on fasteners and trim hardware, wind-driven rain pushes water sideways into joints and penetrations rather than letting it run straight down, and a persistent moss season punishes any wall assembly that holds moisture instead of shedding it. None of that is solved by picking the right siding board. It's solved — or not — by the specific choices made during installation: which fasteners go in, how flashing is lapped, how much clearance is left at grade, and how carefully the weather barrier is detailed around every window, door, and penetration. That's the level of detail this page focuses on.
The Installation Sequence, Step by Step
1. Pre-Installation Assessment
Before any siding comes off, we walk the house and note problem areas — spots where past moisture intrusion is likely, where trim and flashing look questionable, and where sun and wind exposure differ across the walls. This isn't a formality; it shapes where extra attention goes once the old siding is off and the wall assembly is exposed.
2. Tear-Off and Sheathing Inspection
Once the existing siding is removed, the sheathing underneath gets checked for rot, delamination, or soft spots before anything new goes up. This is the one point in the project where the wall assembly is fully visible, and it's non-negotiable to skip it — covering damaged sheathing with new siding just locks a moisture problem behind the wall where it will keep getting worse, unseen.
3. Weather-Resistive Barrier
A correctly lapped weather-resistive barrier, installed shingle-style so water always drains down and over the layer below it, is the backup system that catches whatever gets past the siding itself. Given how much wind-driven rain a Blaine wall can take in a given winter, this layer isn't optional trim work — it's a core part of whether the assembly stays dry.
4. Flashing at Every Penetration
Windows, doors, hose bibs, vents, and any other wall penetration need flashing that directs water back out and over the barrier below, not just a bead of sealant hoping to hold. Sealant fails over time; correctly lapped flashing doesn't depend on it staying intact. This is the single detail most responsible for water intrusion behind newer siding when it's rushed or skipped.
5. Fastening to Manufacturer Spec
James Hardie's warranty is tied directly to installation following their published fastening schedule — correct fastener type, spacing, and depth. Overdriven or underdriven fasteners, or fasteners placed off the manufacturer's layout, are a common source of both cosmetic issues and warranty denial down the line. We follow the spec as the baseline, not as an upsell.
6. Clearances at Grade, Roofline, and Trim
Hardie siding needs specific clearance above grade, roofing, decks, and other horizontal surfaces so water has somewhere to go instead of wicking up into the bottom edge of the board. On a Blaine lot with landscaping, decking, or grade changes close to the house, this clearance sometimes takes more attention to get right than it would on a simpler lot — and it's one of the first things a rushed installation gets wrong.
7. Joints, Caulking, and Field Cuts
Every field-cut edge on fiber cement siding needs to be sealed per manufacturer spec, and butt joints need proper backing and caulking so they don't become an entry point for wind-driven rain. Cut edges left unsealed are a slow, quiet failure point — the kind that doesn't show up as a problem until a few wet seasons in.
8. Final Walkthrough and Documentation
We walk the finished job with the homeowner, point out anything worth knowing for future maintenance, and confirm the completed work matches the estimate. For a product carrying a manufacturer warranty, documenting that installation followed spec also matters if a warranty claim ever comes up later.
Correct Installation vs. Common Shortcuts
| Installation detail | Correct approach | Common shortcut that causes problems later |
|---|---|---|
| Weather barrier | Shingle-lapped, fully sealed at seams and penetrations | Stapled loosely, seams not properly lapped or taped |
| Window and door flashing | Flashing laps barrier correctly, directs water outward | Sealant used as the primary barrier instead of proper flashing |
| Fastening | Manufacturer-spec fastener type, spacing, and depth | Overdriven fasteners, wrong spacing, inconsistent depth |
| Clearance at grade | Manufacturer-specified gap maintained above grade and hard surfaces | Siding installed too close to grade, decking, or roofing |
| Field-cut edges | Sealed per spec before installation | Left unsealed, exposing the cut edge to moisture |
| Sheathing condition | Inspected and repaired before new siding goes on | Covered over without checking what's underneath |
Signs a Past Installation Wasn't Done Correctly
- Staining or streaking below window trim, suggesting flashing that isn't directing water outward
- Soft or spongy siding low on the wall or near grade, often tied to inadequate clearance
- Visible gaps or cracking at butt joints and field cuts
- Fastener heads that are noticeably overdriven, crushing the board's surface, or backing out over time
- Moss or persistent moisture staining concentrated in one area rather than spread evenly across a wall
- A siding job that looks fine from the street but has no documentation of sheathing condition underneath
Any one of these is worth a professional look, especially before a wet Whatcom County winter has more time to work on the problem.
Why a Crew That Already Works Blaine Gets the Installation Right
Installation quality isn't just about following a manufacturer's printed spec — it's about knowing where that spec needs extra attention on a specific house. A crew that regularly works Blaine has already seen which walls take the worst of the wind-driven rain off the water, which lots hold moisture longest under tree cover, and which older homes tend to have sheathing issues worth checking closely before new siding goes up. That pattern recognition doesn't come from a manual; it comes from doing this work repeatedly in this specific place. It also means that if a question comes up years after the job — a warranty issue, a maintenance question, a spot that needs a second look — it's a call to a crew still working in the area, not a company that installed a few jobs here and moved on.
What Affects the Scope and Cost of a Blaine Installation
Every estimate is specific to the house, but a few things consistently affect how much work the installation itself involves: the condition of the sheathing once old siding comes off, how much trim and flashing detail surrounds windows, doors, and rooflines, how close the home sits to open water and the wind exposure that comes with it, and how much of the existing weather barrier can be reused versus replaced. We walk through these factors during the estimate so the scope of the installation is clear before work starts, not discovered partway through.
What a Homeowner Should Confirm Before an Installation Starts
- Ask whether sheathing will be inspected and, if needed, repaired before new siding goes on
- Ask what weather-resistive barrier product will be used and how it will be lapped and sealed
- Confirm the fastening schedule matches the manufacturer's published spec for the product line being installed
- Ask how field-cut edges will be sealed before installation
- Confirm what clearance will be maintained at grade, roofline, and any decking or hardscape near the house
- Ask whether the installer will document the completed work in case a manufacturer warranty claim comes up later
Roofing, Windows, and Decks Alongside a Siding Installation
Because a compromised roof edge or a failing window seal can undo an otherwise correct siding installation by feeding moisture in from a different direction, it's worth having those checked at the same time, even when siding is the main project. We handle roofing, windows, and decks as well as siding, so a Blaine homeowner isn't left coordinating separate contractors who each only see their own piece of the exterior.
If you're planning a siding installation on a Blaine home, or want a straightforward look at whether an existing installation was done correctly, we're glad to come take a look. Reach out using the form below for a free, no-pressure estimate.