 Ferndale Exterior
 New-Construction Windows, Not Retrofits
"New-construction" windows are a specific product category, not just a description of when they go in. They come with a nailing flange (fin) around the frame that gets integrated directly into the wall's weather-resistive barrier (WRB) and flashing system before siding or trim goes on. That's different from a replacement window, which is designed to slide into an existing opening without disturbing the exterior wall assembly. If you're framing a new home, an addition, or a shop conversion in Kendall, you want new-construction units installed the correct way the first time — because once siding closes up around them, the flashing details underneath are hidden for the life of the house.
This page is specifically about that install — new-construction window work for homes being built or added onto in and around Kendall, east of Ferndale in Whatcom County. The window itself matters, but on new construction, the installation sequence matters just as much, if not more.
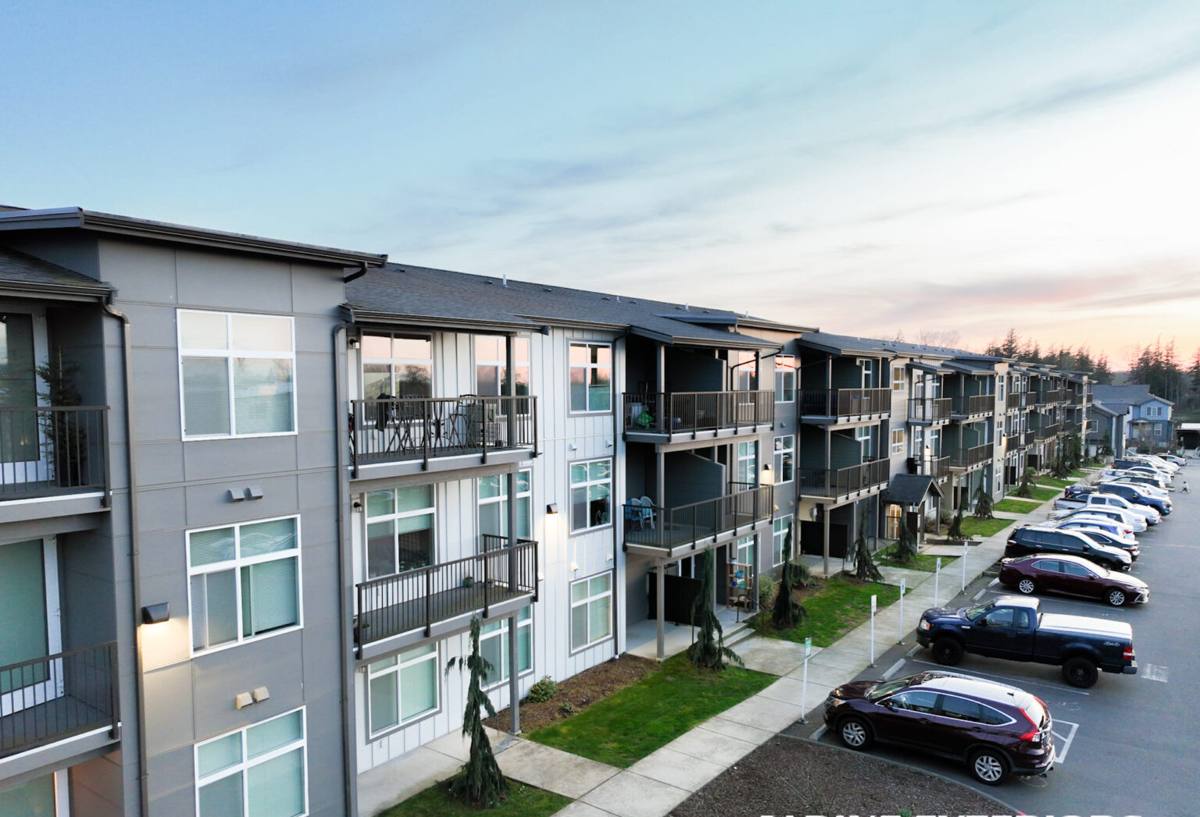
What Kendall's Climate Asks of a New Window Install
Whatcom County weather doesn't do a house any favors. Long stretches of driving rain push moisture sideways into wall assemblies, not just straight down, which means flashing has to shed water outward and downward no matter which direction it's coming from. Even set back from the water, Kendall still sits inside the same marine air pattern that brings salt-laden moisture drifting in off Bellingham Bay and the Strait on windy days — enough over the years to accelerate corrosion on cheap fasteners and untreated hardware. And the region's long moss season means anything that stays damp for weeks at a time — sills, bottom corners, low-angle trim — becomes a growth surface if it isn't detailed to drain and dry.
None of that is dramatic on its own. It's cumulative. A window that's installed with sloppy flashing or the wrong sealant won't fail in year one — it'll fail quietly, five or ten years in, as water finds its way behind the WRB and starts rotting sheathing nobody can see until the siding comes off. New construction is the one point in a home's life where that risk is fully preventable, because the wall is open and every layer is accessible.
What This Means in Practice
- Sill pans and end-dam flashing at every rough opening, not just a bead of caulk
- Corrosion-resistant fasteners and flashing tape rated for long-term exposure, not builder-grade materials
- WRB laps sequenced shingle-style so water sheds outward at every seam, including around the window flange
- Careful attention to bottom and side details, since that's where standing moisture and moss growth start
What a Correct New-Construction Install Actually Involves
The window unit is maybe a third of this job. The rest is sequencing — doing the steps in the right order so each layer overlaps the one below it, the way shingles do, so water always has a path down and out rather than a place to pool.
The Sequence We Follow
- Rough opening check. Confirm the opening is square, plumb, and sized correctly before the window ever goes near it. Fixing a framing error after the window is set costs far more than catching it now.
- Sill pan installation. A sloped or flashed sill pan with end dams so any water that gets past the window has a way out, not a place to sit against the sheathing.
- WRB integration. The housewrap or building paper is cut and lapped so the window flange sits behind the upper WRB and over the lower WRB — never the reverse. This one detail is where most bad installs go wrong.
- Setting the window. Shimmed level and plumb, fastened per the manufacturer's schedule — not "close enough" spacing that leaves the frame able to rack under wind load.
- Flashing tape at flange and corners. Self-adhered flashing over the nailing fin, with reinforced corner detailing where most leaks actually originate.
- Sealant at the right layer only. Backer rod and sealant on the interior air seal, and a deliberately-left weep path on the exterior sill — sealing the exterior sill solid is a common mistake that traps water instead of releasing it.
- Final inspection before siding. Every opening gets checked while it's still accessible, because it won't be once trim and siding close it up.
Choosing the Right Window for a Kendall Build
Frame material, glass package, and pressure rating all affect how a window handles this region's weather over time — not just how it looks on install day.
| Factor | Why It Matters Here |
|---|---|
| Frame material (vinyl, fiberglass, composite) | Fiberglass and quality composite frames resist the expansion/contraction cycling that comes with our wide daily temperature and moisture swings better than lower-grade vinyl |
| Glass package (Low-E, gas fill) | Double- or triple-pane with Low-E coating cuts heat loss during our long wet, overcast winters and reduces interior condensation on cold glass |
| Design Pressure (DP) rating | Higher DP ratings hold up better against wind-driven rain events, which are common with storms moving in off the water |
| Cladding / exterior finish | Low-maintenance exterior cladding resists the moss and mildew growth that untreated wood trim develops in our climate |
| Fastener and hardware finish | Corrosion-resistant hardware holds up longer against the salt-influenced marine air that reaches inland through the county |
We don't push a single brand as the only option — we spec windows based on the wall assembly, the budget, and what the build actually needs. What we won't do is install a window whose flange or hardware isn't rated for sustained exterior moisture exposure, because that trade-off shows up as a warranty claim or a rot repair years later, not a problem on install day.
Where New-Construction Installs Go Wrong
Most window failures we get called to diagnose later trace back to one of a handful of installation shortcuts, not a defective product:
- WRB laps reversed or skipped — water gets directed behind the barrier instead of over it
- No sill pan, or a sill pan without end dams — water that gets past the window has nowhere to go but into the wall
- Exterior sill sealed solid — traps moisture instead of letting it weep out, which accelerates rot from the inside
- Under-fastened flanges — the window can shift or rack slightly over time, opening gaps at the corners
- Flashing tape applied over dirty or wet sheathing — the adhesive never bonds properly, so it fails silently
Every one of these is avoidable. None of them are visible once the siding is on, which is exactly why we treat the pre-siding inspection as a required step, not an optional one.
Our Process on Kendall Builds
We coordinate with the framing and siding schedule rather than showing up as an isolated trade. That means we're on site at the rough-opening stage to check framing tolerances, back during window-in day to run the full flashing sequence, and available before siding closes the wall to confirm every opening is sealed and draining correctly. If we're brought in mid-build on a project someone else framed, we start with the same opening-by-opening check — we don't assume the rough openings are square just because the plans say they should be.
For homeowners managing their own build or working with a general contractor, we're happy to work directly with your builder's schedule and inspector requirements. Whatcom County inspections typically want to see flashing and WRB integration before the wall closes up, and we build our sequence around passing that check the first time.
Why Local Installation Experience Matters
A crew that's done this work elsewhere can still install a window correctly on paper. What local experience adds is knowing how this specific climate behaves against a wall assembly over years, not just on install day — how driving rain from a particular storm direction tends to find weak spots, which details actually matter for moss resistance at ground-level and lower-story windows, and what corrosion looks like on hardware that wasn't rated for it. That's knowledge that comes from doing this work in Whatcom County specifically, seeing the callbacks, and adjusting the sequence accordingly.
Pre-Siding Checklist for Homeowners and Builders
If you're overseeing your own build, these are the things worth confirming before the wall gets covered up:
- Sill pans installed with end dams at every window opening
- WRB laps run shingle-style, upper layer over the window flange, lower layer under it
- Flashing tape applied to clean, dry sheathing with full adhesive contact
- Fastener spacing matches the manufacturer's installation instructions
- Exterior sill left with a clear weep path, not sealed solid
- Interior air seal in place separately from exterior water management
- Photos taken of each opening before siding closes it up, for your own records
If you're planning a new build or addition in Kendall and want windows installed correctly from the framing stage forward, we're glad to walk the plans with you and give a straightforward, no-pressure estimate — just fill out the form below.