 Ferndale Exterior
 Building New in Birch Bay Means Planning for the Coast From Day One
Birch Bay sits right on the water, and that changes what a new-construction window job actually needs to get right. This isn't a replacement job where you're working around an existing opening and an already-weathered wall. New construction gives you one shot to build the water management right the first time — flashing, house wrap, sealant, and window all working together before siding ever goes up. Get that sequence wrong on a Birch Bay lot and you won't find out for a year or two, when the first real atmospheric river event pushes rain sideways into a wall that looked fine on installation day.
We're based in Ferndale and have worked Birch Bay builds long enough to know the difference between a window install that's "up to code" and one that's actually built for this stretch of Whatcom County coastline. Those aren't always the same thing.
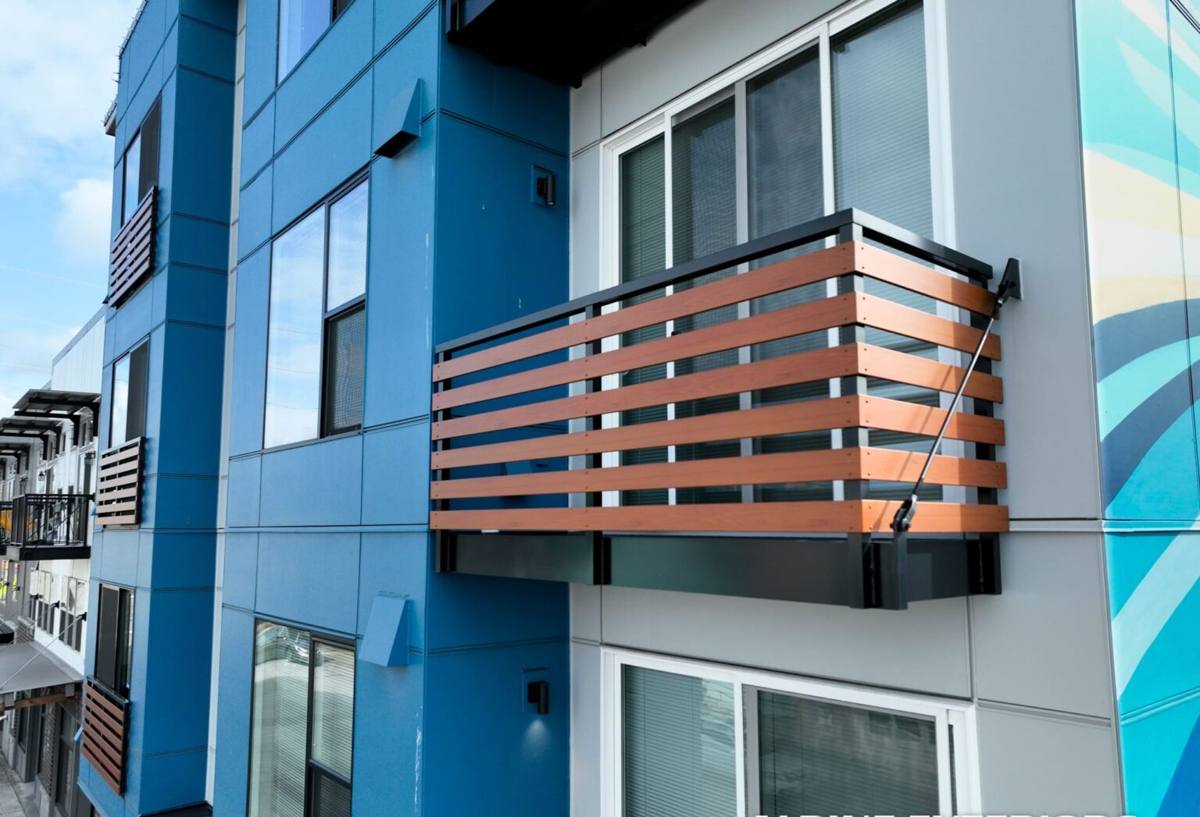
What Salt Air, Driving Rain, and Moss Season Do to a New Build Over Time
Salt Air and Hardware Corrosion
Homes closer to the water pick up airborne salt that settles on window hardware, screens, and exposed fasteners. On a standard-grade window, that shows up over several years as pitted or seized hardware, corroded screen frames, and finishes that dull faster than they would a few miles inland. It's not dramatic — it's slow, and it's the kind of thing that gets ignored until a lock or crank stops working the way it should.
Driving Rain and Water Intrusion
Whatcom County storms don't always come straight down. Wind off the water pushes rain into wall assemblies at an angle, which means the flashing details around a window opening matter more here than they do in a sheltered inland lot. A window that's technically installed to manufacturer spec but flashed with shortcuts can still leak — just not on day one. It shows up as staining, soft trim, or a musty smell inside a wall cavity months or years later.
Moss and Algae on Trim and Sills
The long wet season in this part of Washington keeps north-facing and shaded elevations damp for months at a stretch, and that's exactly where moss and algae take hold on window sills, trim, and cladding. It's mostly cosmetic, but it also holds moisture against the building longer than a dry surface would, which is one more reason detailing at the window opening needs to shed water cleanly instead of letting it pool.
New Construction Windows Are a Different Job Than Replacement
New-construction windows have a nailing flange built into the frame, designed to be integrated into the wall assembly before the weather-resistive barrier and siding go on. That's an advantage — you get to build the drainage plane correctly instead of working around one that's already there — but it also means the window installer has to coordinate closely with the framer, the house wrap crew, and whoever's running siding. On a Birch Bay build, we treat that coordination as part of the job, not an afterthought. A window installed out of sequence with the weather barrier is one of the most common causes of hidden leaks in new construction, and it has nothing to do with the window product itself.
We also pay attention to timing. Windows that sit open to weather for weeks between rough opening and final flashing on a coastal lot are taking on moisture the framing doesn't need. We schedule to keep that window of exposure short.
What a Correct Install Involves in This Climate
Flashing Sequence
The order matters as much as the materials. Sill pan flashing goes in first to catch and direct any water that gets past the window, sloped to drain outward rather than pooling on the sheathing. Side and head flashing integrate with the house wrap in a shingle-lap pattern — each layer overlapping the one below it — so water moving down the wall never meets an edge that pushes it inward.
Sealant Selection and Placement
Not every gap should be sealed solid. The weep path at the bottom of the frame needs to stay open so any water that does get behind the window can drain back out, while the head and jambs get sealed to block wind-driven rain. Sealing the bottom of a window airtight is a common mistake — it traps water instead of releasing it, and on a site that gets the kind of driving rain Birch Bay does, that mistake shows up faster than it would elsewhere.
Weather Barrier Integration
The house wrap or weather-resistive barrier has to be cut, folded, and taped back around the opening correctly — not just cut in a rough X and left. This is the layer that does most of the real work keeping bulk water out of the wall, and it's often the layer that gets rushed on a tight framing schedule.
| Frame Material | Coastal Performance | Maintenance | Typical Fit for Birch Bay |
|---|---|---|---|
| Vinyl | Won't rust or corrode; handles moisture well | Low — occasional cleaning | Solid, budget-friendly default for most new builds |
| Fiberglass | Very stable in temperature and moisture swings; strong seal retention | Low | Good upgrade where dimensional stability and longevity matter most |
| Aluminum-clad wood | Attractive exterior finish, but wood core needs the interior kept dry and sealant maintained | Moderate to high — sealant and finish checks matter more near salt air | Workable for design-driven builds, but we're upfront about the added upkeep this close to the water |
| Bare aluminum | Prone to condensation and, over time, corrosion from salt exposure | Higher | We generally steer new Birch Bay builds away from this for exterior-facing units |
Choosing the Right Window Product for a Birch Bay Lot
Beyond frame material, a few product specs matter more here than they would on a sheltered inland build:
- Corrosion-resistant hardware — stainless steel or coated components hold up longer against salt air than standard-grade hardware.
- A dual or triple weatherstrip design — extra sealing points at the sash help resist wind-driven rain during coastal storms.
- Low U-factor glass — Whatcom County's mild but damp winters make a well-insulated glass package worth the upgrade for comfort and condensation control.
- NFRC-rated performance labels — these give you an apples-to-apples way to compare products instead of relying on marketing claims alone.
We don't push one manufacturer as the only right answer. What we do insist on is matching the product's rated performance to where the window actually sits on the house — a west-facing wall catching direct weather off the bay gets held to a higher standard than a sheltered interior courtyard window on the same build.
How We Work With Builders and Homeowners on New Construction
Whether you're a homeowner managing your own build or working with a general contractor, our process on Birch Bay new construction looks like this:
- Review the window schedule and rough openings against the plans before any units arrive on site, checking sizing and swing direction match the design.
- Coordinate installation timing with the framing and house wrap crews so windows go in as part of one continuous weather-tight sequence, not a standalone step done out of order.
- Install sill pan flashing, integrate side and head flashing with the weather barrier, and set each unit level, plumb, and square.
- Seal and insulate around the frame correctly — sealed where it should block water, left open where it needs to drain.
- Walk the openings with the builder or homeowner before siding closes everything in, since this is the last point where flashing details are still visible and correctable.
Checklist: What to Confirm Before Your Windows Go In
- Sill pan flashing is specified and sloped to drain outward
- Flashing integrates with the house wrap in proper shingle-lap order (bottom layer first, working up)
- Weep paths at the bottom of each frame are left clear, not sealed shut
- Hardware is rated for coastal or marine-adjacent exposure
- Glass package U-factor and any solar heat gain rating fit the wall's sun and weather exposure
- Installation is scheduled to minimize how long framing sits exposed to weather
- Someone walks and photographs the flashing before siding covers it up
Why It Matters That We Already Work in Birch Bay
A crew that installs windows across a lot of different climates can still do a technically correct job — but a crew that installs regularly in Birch Bay knows which elevations on a given lot take the worst of the weather, how Whatcom County's inspectors and permitting process typically run, and what actually fails first on homes built here versus homes built somewhere drier and calmer. That local pattern recognition is hard to replace with a spec sheet. We're a Ferndale-based crew, and Birch Bay is inside the area we know and work regularly — not a one-off trip.
New construction is also unforgiving of communication gaps between trades. Because we're local, we can be on site quickly if a scheduling question comes up with the framer or siding crew, rather than trying to coordinate a multi-day job long-distance.
Get a Straight Answer for Your Build
Every lot in Birch Bay faces the weather a little differently depending on elevation, tree cover, and how exposed it is to the water. If you're planning a new build or currently framing one, we're glad to walk the plans with you, talk through frame and glass options that fit your budget and exposure, and give you a clear, no-pressure estimate — just fill out the form below to get started.