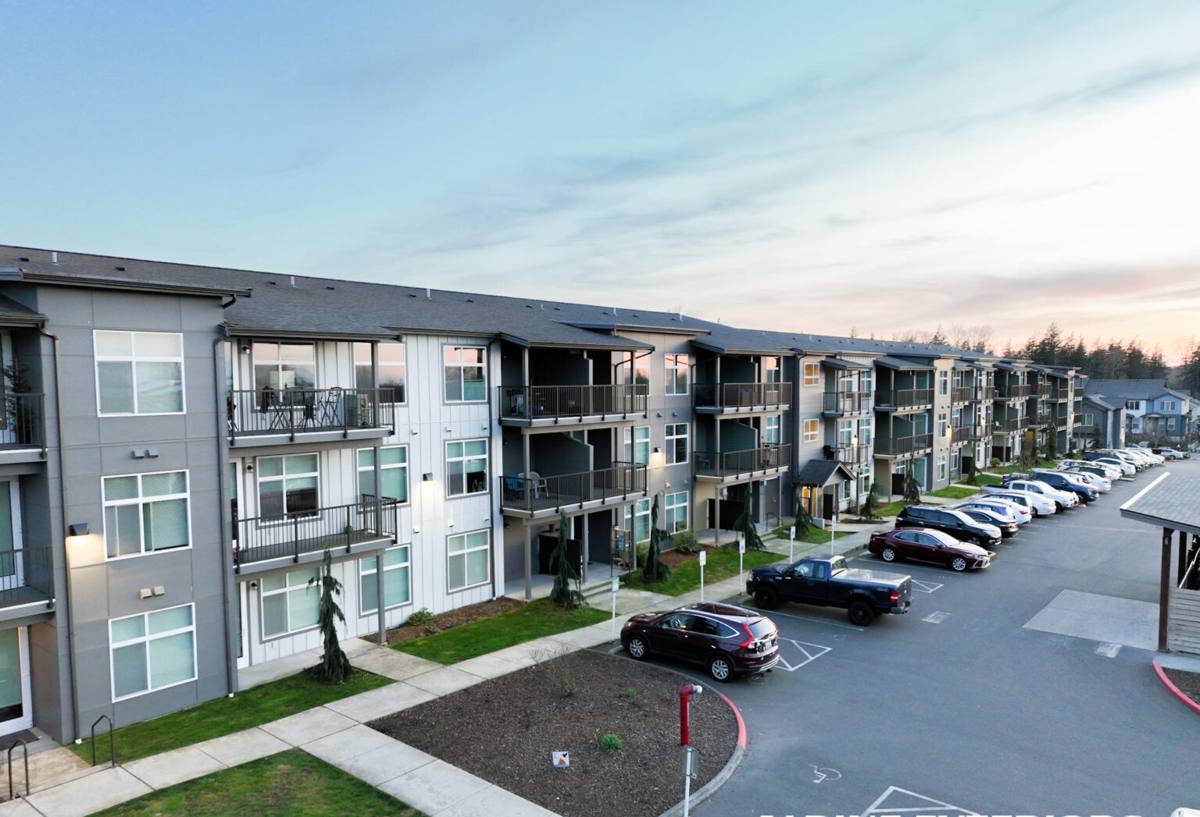
 Ferndale Exterior
 Building New in Lummi Nation Means Building for the Water
Homes going up in and around Lummi Nation sit close to Bellingham Bay and the Strait of Georgia, which means every new-construction window has to earn its keep from day one. This isn't a climate where you can treat window installation as a generic checkbox on the framing schedule. Salt-laden air, wind-driven rain off the water, and a moss season that can run half the year all put real, ongoing stress on window units and the openings they sit in. Get the installation right during framing and rough-in, and those windows will perform quietly for decades. Get it wrong, and problems — fogged glass, soft trim, water tracking into wall cavities — usually don't show up until well after the builder has moved on to the next lot.
This page is specifically about new-construction window installation for homes being built in the Lummi Nation area, not about replacing windows in an existing house. The two jobs share some skills, but the details, sequencing, and materials decisions are different enough that they deserve separate treatment.
What "New Construction" Actually Means for a Window Installer
New-construction windows are installed before the siding goes on, using a nailing fin (or flange) that gets integrated directly into the wall's weather-resistive barrier (WRB) and flashing system. This is different from a "pocket" or "insert" replacement window, which drops into an existing frame after the old sash is removed. On a new build, we're not working around an existing opening — we're building the water management system for that opening from scratch, in the sequence the framer, the WRB installer, and the siding crew all depend on.
That sequencing matters more here than in a lot of inland Washington towns. Whatcom County's coastal exposure means a flashing detail that's "close enough" in a drier climate can become a real leak path once driving rain starts hitting the wall at an angle during a winter storm off the water. New construction gives us the chance to do this correctly the first time, before drywall and finish trim make it expensive to fix.
Why the Coastal Setting Changes the Calculus
Three things make windows near Lummi Nation and the surrounding shoreline harder on materials and installations than a typical inland job:
- Salt air accelerates corrosion on fasteners, hardware, and lower-grade metal components, and it degrades some finishes faster than manufacturers' standard warranty testing accounts for.
- Driving rain off open water hits window openings at angles that gravity-only flashing details don't handle well — water can be pushed sideways and upward under poorly lapped flashing.
- Extended moss and moisture season keeps siding, trim, and sills damp for long stretches, which means any installation flaw that traps water has more time each year to do damage before things dry out.
What a Correct New-Construction Window Job Involves
A properly installed new-construction window is really a small system, not just a unit set into a hole. Each layer has a job, and skipping or shortcutting one layer puts more load on the rest.
The Opening and Flashing
Before a window ever goes in, the rough opening needs to be square, correctly sized, and prepped with a sloped sill pan — not a flat one — so any water that gets past the glass or frame drains back out rather than sitting on the sill. Flashing tape and housewrap need to be layered shingle-style, bottom to top, so every layer sheds water onto the one below it, never the reverse. In a driving-rain climate, we pay particular attention to the head flashing detail, since that's the piece doing the most work when wind pushes rain up and under an opening.
The Window Unit Itself
The nailing fin gets fastened per the manufacturer's schedule — not just "enough nails to hold it" — because uneven fastening can rack a frame slightly out of square, which shows up later as a sash that doesn't seal tight or a lock that binds. Shims go behind the fin at load points to keep the frame straight and prevent bowing once the wall loads settle.
Sealant and Backer Rod
Where the frame meets the rough opening on the interior side, sealant and backer rod control air leakage and add a second line of defense against moisture that manages to get past the exterior flashing. This is a step that's genuinely easy to rush on a busy framing schedule, and it's one of the first places we check on any job we're asked to look at after the fact.
Exterior Trim and Final Weatherproofing
Once siding starts, the trim and any exterior casing need to be back-primed or back-sealed on cut ends, with a drip cap or equivalent detail above the window to throw water clear of the top edge. In a moss-prone climate, tight-fitting trim with no gaps for organic debris to collect matters more than it might elsewhere — moss and lichen hold moisture against wood and painted surfaces far longer than open air does.
Choosing Window Materials for a Near-Water Site
Frame material is one of the bigger decisions on a new build, and it's worth making with the local climate in mind rather than defaulting to whatever's cheapest or most common inland. Here's how the main options generally compare for a Lummi Nation-area home:
| Frame Material | Salt Air / Coastal Performance | Maintenance | Typical Cost Position |
|---|---|---|---|
| Vinyl | Good — won't corrode; UV-stable formulations hold up well | Low; occasional cleaning | Budget-friendly |
| Fiberglass | Very good — dimensionally stable, resists warping in wet/dry cycles | Low | Mid to upper-mid |
| Wood-clad (exterior aluminum or vinyl clad) | Good on the clad exterior; interior wood needs protection from moisture intrusion | Moderate — depends on cladding integrity | Upper-mid to high |
| Bare aluminum | Fair — prone to pitting and corrosion in salt air unless heavily coated/anodized | Higher near water | Varies |
We don't push homeowners toward one brand or material across the board — the right call depends on budget, the home's design, and how exposed the specific elevation is to wind and water. What we do insist on is being honest about trade-offs. A bare or lightly coated aluminum frame, for example, can look sharp initially but tends to show pitting and corrosion sooner in a salt-air setting than a vinyl or fiberglass equivalent, which means more upkeep down the road. We'd rather explain that upfront than have a homeowner discover it in year five.
Our Process on a New Build
We coordinate closely with the general contractor or builder rather than working in isolation, since window installation sits right in the middle of the framing-to-siding sequence.
- Plan review: We look at window schedules, elevations, and rough opening sizes before framing is finalized, catching sizing or sill-height issues while they're still cheap to fix.
- Rough opening inspection: We verify openings are square, correctly sized, and that sheathing and WRB are ready for our flashing sequence before we set a single unit.
- Sill pan and flashing installation: Sloped sill pans and shingle-lapped flashing go in per the window manufacturer's instructions, adapted where needed for the coastal exposure of that specific elevation.
- Window setting and fastening: Units are shimmed, squared, and fastened to the manufacturer's schedule, with fastener types chosen for corrosion resistance given the salt-air environment.
- Interior air-sealing: Backer rod and sealant go in at the interior gap before insulation and drywall close the wall up.
- Exterior trim coordination: We work with the siding crew (or handle trim ourselves, depending on scope) to make sure drip caps, casing, and sealant joints are done in the right order — not squeezed in after the fact.
- Final walkthrough: Every unit gets checked for smooth operation, even reveals, and a clean seal before we call the job done.
Mistakes We See on Coastal New Builds
Most of the window problems we get called out to look at in this part of Whatcom County trace back to a handful of recurring shortcuts, not defective products:
- Flat or improperly sloped sill pans that let water pool instead of drain
- Housewrap and flashing tape lapped in the wrong order, so water can work its way behind a layer instead of over it
- Missing or undersized head flashing, which matters more here than in a sheltered inland lot
- Fasteners that aren't rated for coastal/corrosive exposure, leading to early rust staining or loosening
- Trim installed tight to the siding with no drainage gap, trapping moisture and encouraging moss growth right where it can do the most damage
None of these are exotic problems. They're ordinary steps that get rushed on a tight framing schedule, and in a gentler climate they might never surface as a visible issue. Near the water, they usually do.
Living With the Windows After They're In
New-construction windows installed correctly should need very little from a homeowner beyond normal care, but the coastal setting does call for a bit more attention than an inland home:
Salt Air
Rinsing exterior frames and hardware periodically, especially after storms, helps prevent salt buildup on hinges, locks, and cladding seams. This is a five-minute task, not a project, but it's one that's easy to forget until corrosion is already visible.
Moss Season
Keeping trim, sills, and the areas around window openings clear of moss and organic debris prevents moisture from being held against the wood or painted surfaces for extended periods. A quick seasonal check — especially heading into the wetter months — catches buildup before it becomes a maintenance problem.
Annual Checks
A yearly look at exterior caulk joints and weep holes (on units that have them) is worth the half hour it takes. Weep holes clogged with debris or moss can stop a well-designed drainage system from doing its job.
Why Local, On-the-Water Experience Matters
A crew that mostly works drier, inland Whatcom County jobs isn't necessarily wrong about window installation in general — but they may not have had to solve for driving rain off open water on a regular basis. Details like sill pan slope, head flashing sizing, and fastener corrosion resistance matter everywhere, but they matter in a very specific, unforgiving way on a Lummi Nation waterfront or near-water lot. We work new-construction jobs in this area regularly, which means we're not guessing at how a given detail will hold up against this particular stretch of coastline — we've already seen what works and what doesn't over multiple seasons.
Before You Start: A Practical Checklist
If you're a homeowner or builder planning a new build in the Lummi Nation area, these are worth confirming before window installation begins:
- Rough openings are verified square and correctly sized against the window schedule
- Sill pans are specified with a slope, not flat
- Flashing sequence (WRB, tape, flashing) is documented and matches manufacturer instructions
- Frame material has been chosen with the specific elevation's water/wind exposure in mind
- Fastener specification accounts for coastal corrosion resistance
- Exterior trim plan includes a drip cap or equivalent detail above each window
- Installer and siding crew have coordinated on sequencing so trim and sealant aren't rushed
If you're planning a new build or an addition in Lummi Nation, Ferndale, or elsewhere along this stretch of Whatcom County, we're glad to walk the plans or the site with you and give straightforward, no-pressure guidance on window selection and installation sequencing. Use the form below to request a free estimate.